Classifications
After submitting the article data and assets, the articles need to be put in the correct classification. This EZ-base article classification will be displayed in web sites/web shops. EZ-base will also provide the articles with standardized features, in case the supplier has submitted features. These features will be used by the wholesalers to be able to actively filter articles in their web environment. By doing so, suppliers’ data can be found uniformly.
There are two possible ways to modify the classification for own use:
Keep the default EZ-base classification including the name, but add an own title, description and body text.
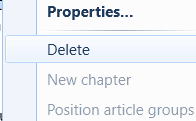
This can be done in the screen below by right clicking the right classifcation level and select Properties. Find the screen that will open here.
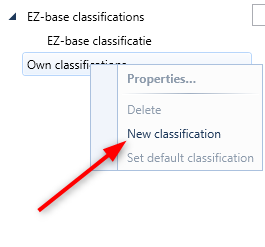
Suppliers and wholesalers can add multiple own classifications and add article groups to these own classifications.
Importing an own classification can be found in the Assortment tab -> Classification -> Import own classification.
Find matching articles to the own classification here.
Synonyms and metadata for the own classification can be imported under tab Assortment -> Classification -> Import synonyms
In addition to importing the own classification, it can also be modified in the screen below. To do so, right click the right classification level. Below this is explained (point 5).
Own classifications of wholesalers can also be managed using the ArtLink.
The screen below will open when selecting the Assortment tab -> 'Classifications' -> 'Management'.
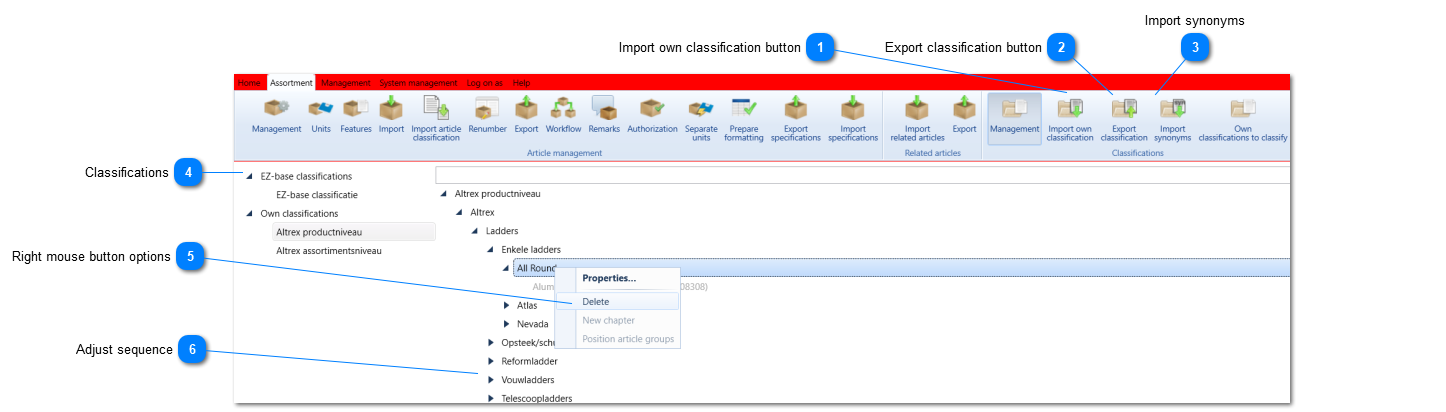
Import own classification button Please find more information here.
|

Import synonymsPlease find more information here.
|

Adjust sequenceThe order of the classification levels can be changed by dragging a classification level to the desired position:
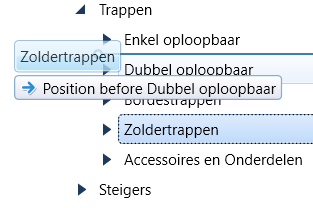 Click here for an explanation of how to change the displayed order of article groups within a classification level.
|