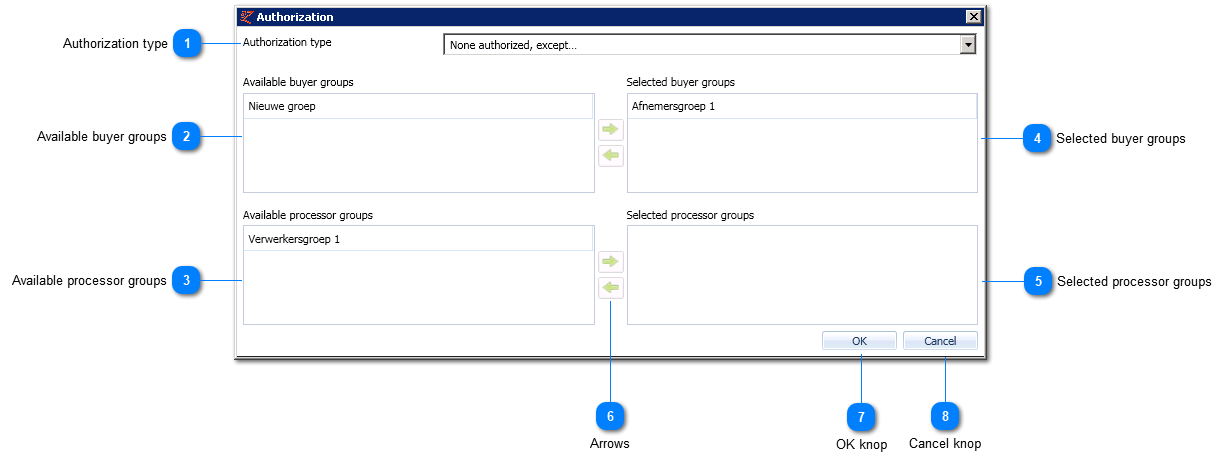
Authorize selected article groups
In this screen the authorization can be managed for the selected lines in the article group table using the authorization screen.
Depending on your contact type, parts of the screen below will be visible or not.
This screen will open by clicking an article line and subsequently the Authorization screen in the Assortment tab -> 'Authorize'.
 Authorization typeUse the pull down to select the desired authorization type:
-
-
All authorized, except... -
None authorized, except...
|
|
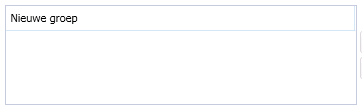
 Available buyer groupsExisting buyer groups that are not yet member of the authorization type and can be added.
|
|
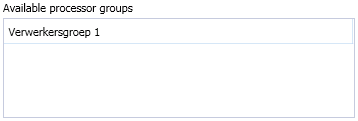
 Available processor groupsAvailable processor groups that are not yet member of the authorization type and can be added. |
|
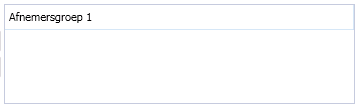
 Selected buyer groupsThe selected authorization type (point 1) applies to the selected buyer groups. |
|
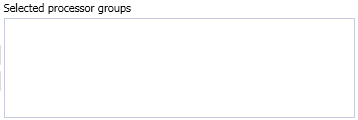
 Selected processor groupsThe selected authorization type (point 1) applies to the selected processor groups. |
|
 Arrows
|
Arrow pointing right
|
First click on an available buyer group. Move it to the selected buyer groups using the arrow pointing right.
|
|
Arrow pointing left
|
First click on a selected buyer group. Move it to the available buyer groups using the arrow pointing left.
| |
|
 OK knop |
|
 Cancel knopClicking Cancel will return to the previous screen without saving any modifications.
|
|